


What you’ll achieve with this upgrade
Your laptop freezing when opening the browser with ten tabs? Takes forever to load the spreadsheet editor? In most cases, it’s not the processor’s fault, but insufficient RAM. Replacing or expanding RAM is one of the cheapest and most effective upgrades you can do on an old laptop, and this tutorial will guide you through the entire process, from diagnosis to the first boot with new memory.
Before putting your hand on the screwdriver, you need to confirm a few things: whether your laptop allows RAM upgrade (many models released from 2020 onwards have memory soldered directly to the motherboard, called on-board or soldered RAM), what type of module it accepts, and how much memory the system supports. This guide covers laptops with removable RAM, SO-DIMM format (the standard for portables), both DDR3 and DDR4. If your model is newer and uses DDR5, the physical process is identical, but the modules are different.
Basic requirements: a small Phillips screwdriver (usually #0 or #1), an anti-static wrist strap or non-conductive surface, the exact model of your laptop, and access to the technical manual or the manufacturer’s support page.
Step 1: Confirm if your laptop accepts RAM upgrade
Before buying anything, you need to know whether your laptop’s memory is removable. You can’t find that out just by looking at the outside.
- Write down the complete laptop model (usually on the label underneath the device or in the BIOS).
- Access the manufacturer’s website and download the service manual, not the user manual. It shows the internal diagram and indicates whether the RAM slots are accessible.
- A quick alternative is to use the free CPU-Z program (available on the official manufacturer’s website) to check the slots: in the “Memory” tab you see the type, frequency, and number of channels; in the “SPD” tab you see how many physical slots exist and which ones are occupied.
- If the manual indicates “memory soldered” or “not user-upgradeable”, stop here. There’s no upgrade possible without changing the motherboard.
Searching YouTube for your exact laptop model also helps a lot. Disassembly videos show whether access is simple (removable bottom panel) or complicated (unibody-type notebook that requires keyboard removal).
Step 2: Identify the compatible RAM type and frequency
Buying the wrong module is the most common mistake. There are different generations of DDR memory that are not physically interchangeable – the physical connector changes between DDR3, DDR4, and DDR5, so there’s no risk of installing it wrong by accident, but you’ll lose money on the return.
- With your laptop model in hand, consult the specifications page on the manufacturer’s website. Look for “maximum memory”, “memory type”, and “memory speed” (frequency in MHz).
- Note the supported frequency. If your laptop accepts DDR4-3200 and you install a DDR4-2666 module, it will work but operate at the lower speed. The opposite is also true.
- Check if the laptop has one or two slots. With two slots and memory in dual channel (two modules working in parallel, like two lanes of a highway instead of one), the performance gain is real, especially in tasks requiring intensive data reading and writing.
- Confirm the maximum supported capacity. A 2016 laptop might support up to 16 GB even if it came with 4 GB from the factory. Don’t confuse what came factory-installed with the hardware limit.
If you can’t find this information on the official page, consult the compatibility database of Crucial or Kingston, two manufacturers that maintain public search tools by laptop model.
Step 3: Choose and purchase the correct modules
With the specifications in hand, choosing becomes easier. Prioritize brands with presence and support in Brazil: Kingston, Crucial (distributed by Micron), Corsair, and G.Skill are found in national stores like Kabum, Pichau, and Terabyte.
- DDR3 (laptops from approximately 2010 to 2015): 4 GB modules cost between R$ 60 and R$ 100 each in 2026; 8 GB ranges from R$ 100 to R$ 180.
- DDR4 (laptops from approximately 2015 to 2022): 8 GB modules range from R$ 120 to R$ 200; 16 GB between R$ 220 and R$ 380.
- DDR5 (newer laptops): 16 GB modules start at R$ 350, with significant variations depending on frequency and brand.
These prices vary depending on the exchange rate, promotions, and inventory. Products sold by national sellers on marketplaces like Mercado Livre have invoices and local warranty. Imports via Shopee or AliExpress may be cheaper, but depend on customs luck and have no applicable warranty in Brazil in case of defects.
Step 4: Open the laptop safely
This is the step that intimidates most people, but it’s straightforward if you follow the correct order.
- Shut down the laptop completely. Don’t use sleep or hibernation mode.
- Disconnect the charger and all peripherals.
- If the model has a removable battery, take it out.
- Touch an unpainted metal surface to discharge static electricity from your body, or use an anti-static wrist strap connected to the laptop chassis.
- With the correct Phillips screwdriver, remove the screws from the bottom panel. Keep the screws in a small container; they may be different sizes on some models, so take a photo before removing to remember where each one goes.
- Use a plastic opener (or an old card) to release the panel latches. Never force with metal objects to avoid scratching or breaking the latches.
- Remove the panel carefully and place the laptop on a clean, dry, non-conductive surface.
If the model doesn’t have a separate bottom panel, the service manual will indicate another path, such as removing the keyboard first. Follow the sequence indicated by the manufacturer strictly.
Step 5: Remove the old RAM and install the new one
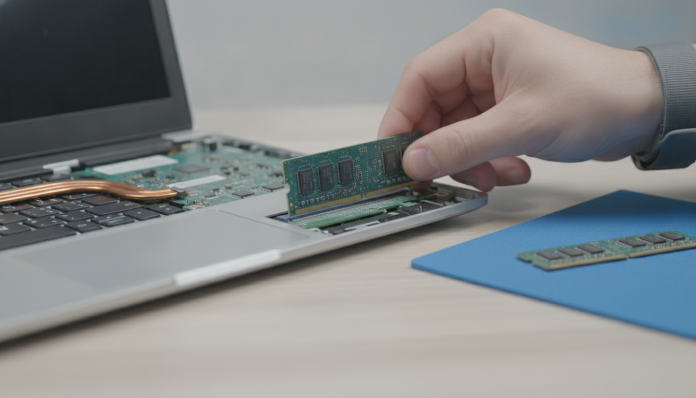
The SO-DIMM modules sit in slanted slots, usually held by two metal side latches.
- Locate the RAM slots on the motherboard. They look like memory cards tilted at about 30 degrees.
- To remove a module, push the side latches apart simultaneously. The module will tilt up.
- Hold the module by its edges, without touching the gold contacts, and pull it out.
- To insert the new module, align the notch of the module with the slot’s projection. Each DDR generation has a different connector, so if it doesn’t fit naturally, don’t force it.
- With the module aligned, push it firmly into the slot at a 30-degree angle. Then press the top of the module downward until you hear or feel the side latches clicking into place.
- If installing two modules for dual channel, place them in both available slots.
If you want to better understand the theory behind the process or check detailed illustrations of each step, the guide How to upgrade RAM in an old notebook provides a step-by-step with complementary visual references.
Step 6: Close the laptop and test
- Replace the bottom panel, starting with the latches before tightening the screws.
- Replace the screws at the correct torque: tight, but without forcing. Over-tightened screws break the plastic.
- Connect the charger and turn on the laptop.
- If a screen asking you to enter the BIOS or a “memory change detected” warning appears, it’s normal. Confirm and let the system restart.
- In Windows, open Task Manager (Ctrl + Shift + Esc), go to “Performance” and click on “Memory”. Check if the total displayed matches what you installed and if the number of slots used is correct.
- On Linux, the
free -hcommand in the terminal shows the total RAM recognized by the system.
If the laptop doesn’t turn on, or turns on and shows less memory than expected, see the section below.
Common problems and how to solve them
The laptop won’t turn on after the upgrade The module probably didn’t click in completely. Open it again, remove and reinstall with more firmness. Also check if the model isn’t incompatible with the type of RAM purchased.
The system recognizes less memory than installed In Windows, go to “System” in settings and check the total installed versus usable. If the usable is less, it could be operating system limitation (32-bit versions of Windows limit usage to about 3.2 GB regardless of what’s installed) or BIOS restriction. Update the BIOS to the latest version available on the manufacturer’s website.
The computer restarts randomly after the upgrade Sign of a defective module or frequency incompatibility. Test with only one module at a time to isolate the problem. Use the free MemTest86 program (booted from USB) to test memory integrity.
The slot latches are broken This happens when you force the removal. If the module still fits mechanically, it may work even without the latches, but the contact becomes unstable. In that case, the solution is to take it to a technician to evaluate replacing the slot on the motherboard.
Frequently asked questions about upgrading RAM in a laptop
Does every old laptop accept RAM upgrade?
No. Models released from approximately 2020 onwards, especially ultrabooks and ultra-thin notebooks, typically have memory soldered directly to the motherboard, with no removable slots. Check the service manual of your model before buying any components.
Is it worth upgrading RAM on a laptop with a 2012 or 2013 processor?
It depends on the usage. If the laptop still runs the current operating system without problems and RAM is the only bottleneck, the upgrade can extend its life by another two or three years at low cost. If the processor doesn’t support current operating system versions (as happens with many chips before Intel 6th generation Core for Windows 11), the RAM upgrade only solves part of the problem.
Can I mix modules from different brands or frequencies?
Technically the system will work, but it will operate at the frequency of the slowest module. Mixing brands rarely causes serious problems, but to achieve dual channel it’s recommended to use a matched kit (two identical modules sold together), as manufacturers test these pairs to ensure compatibility.
Do I need to reinstall Windows after the RAM upgrade?
No. Changing RAM is transparent to the operating system. Windows, Linux, and macOS recognize the new memory automatically on the next boot, with no reinstallation or activation necessary.
When RAM upgrade is not enough
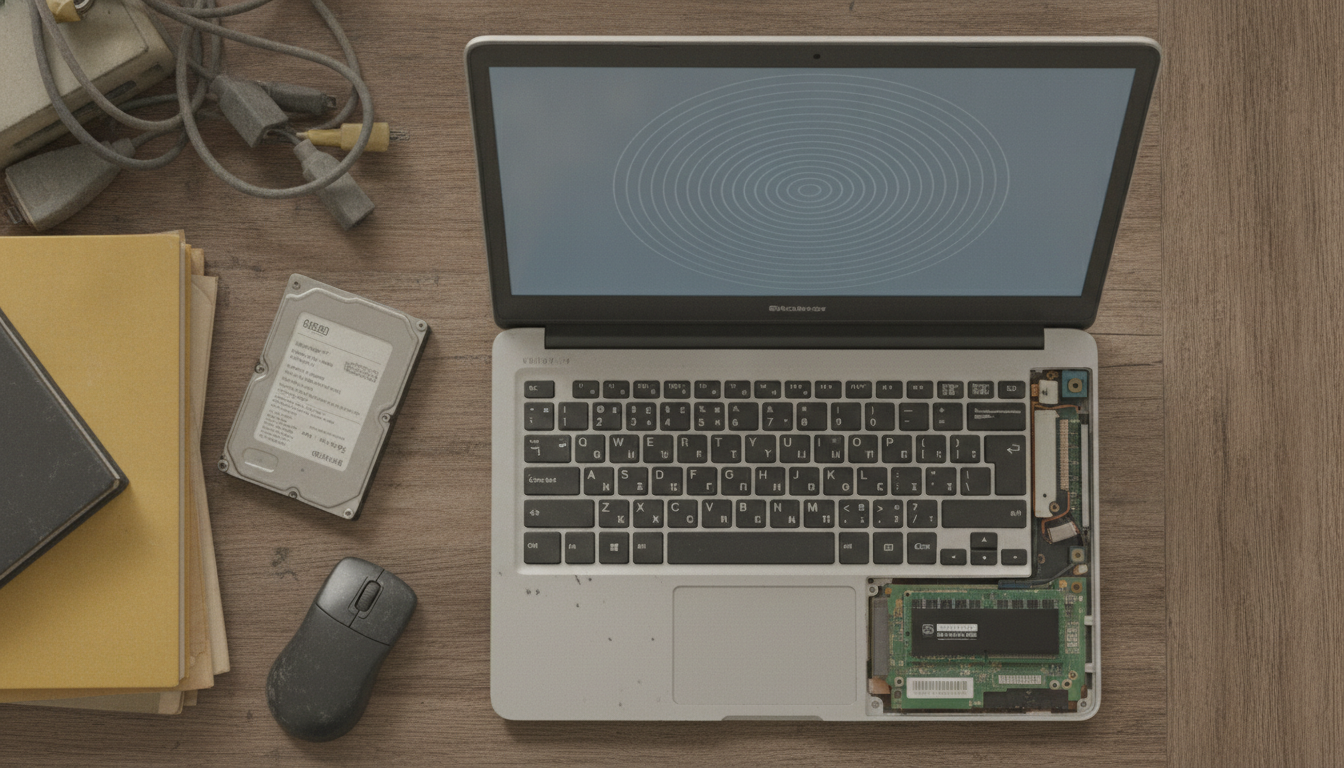
If after the upgrade the laptop is still slow, the next upgrade candidate is storage. Replacing a mechanical hard drive with an SSD (Solid State Drive, a drive with no moving parts that accesses data much faster than a conventional hard drive) has an even greater perceived impact on daily use than increasing RAM, especially in boot speed and program launch time.
Another scenario where the RAM upgrade doesn’t help: if the bottleneck is the processor or integrated graphics card, there’s not much you can do without replacing the entire laptop. For those thinking about buying a new model with a focus on longevity and battery life, the guide on how to choose a notebook with long battery life can help identify the right features before making your purchase.
RAM upgrade is one of the safest and cheapest hardware interventions out there. With the correct information and careful handling, anyone with a little patience can do it themselves and give a few more good years of life to a laptop that still has everything to remain useful.