

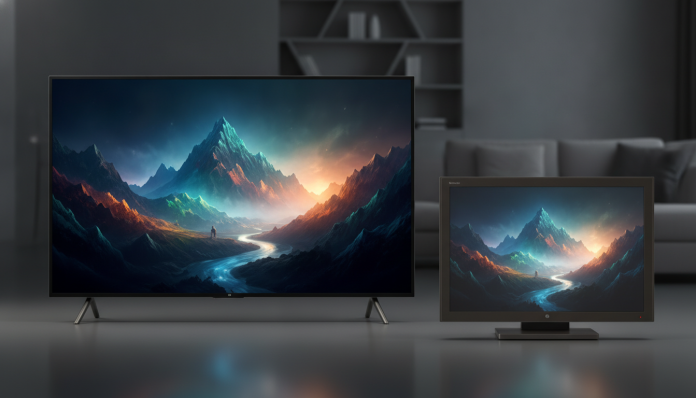

Your Samsung from years ago can look brand new with the right adjustments
You bought a Samsung four, five, or six years ago and still don’t want to replace it. It makes perfect sense: quality LCD and OLED panels last a long time, and often the problem isn’t the hardware but settings that have never been touched since unboxing or features left behind after software updates. The good news is you can recover much of your TV’s visual potential without spending anything, or investing very little.
This guide is for anyone with a Samsung TV over three years old who feels the image has become “too dull,” faded, with strange colors, or simply different from what it was. We’ll go from basic calibration to accessible hardware upgrades, with explanations for people who understand technology but don’t want to spend hours researching in foreign forums.
What you’ll achieve by the end: more accurate image, real contrast, precise colors, and smoother motion, all using resources Samsung provides or accessories easily available in Brazil.
What you need before starting
Minimum requirements:
- Samsung Smart TV with Tizen OS (models from 2016 onwards run Tizen versions)
- Access to the TV’s settings menu (original remote or Samsung SmartThings app)
- Know your model number (on the label on the back, starts with UN, QN, or QE)
What’s helpful to have on hand:
- HDMI 2.0 or 2.1 cable if your TV supports 4K or HDR
- Free Samsung SmartThings app on your phone
- A quality content source to evaluate image (4K HDR streaming service or Blu-ray)
Step 1: Reset the picture mode because the factory default is a trap
Samsung, like virtually all manufacturers, configures TVs in “Standard” or “Dynamic” mode at the factory. These modes are optimized for brightly lit store environments where the TV needs to stand out on shelves. At home, the result is an excessively bright image with oversaturated colors and aggressive motion processing.
- Press the Home button on your remote
- Go to Settings (gear icon)
- Select Picture and then Picture Mode
- Switch to “Movie” (some models show “Cine” or “Cinema”)
Movie mode disables most automatic processing and delivers an image closer to what the cinematographer approved. It may seem “dull” at first, but your eyes adapt within minutes and you’ll notice much more detail in shadows and highlights.
Step 2: Disable “enhancements” that harm image quality
Samsung and other brands include processing filters that sound good on paper but degrade real-world experience. The most famous is Motion Smoothing, called by Samsung Auto Motion Plus or in newer models Motion Enhancement. It interpolates extra frames to smooth motion, creating the famous “soap opera effect” in movies where everything looks like cheap video camera footage.
- Within the Picture menu, go to Expert Settings (or “Advanced”, depending on model)
- Find Auto Motion Plus and select Off or Custom with sliders at zero
- Still in the same menu, disable Automatic Brightness Control if your room has consistent lighting
- Disable HDR+ Mode if you watch natively HDR content, as the TV tries to “improve” signals that don’t need help
Other features to review:
- Digital Sharpness (Digital Clean View): leave low or disabled for good-quality sources
- Game Mode: enable only when gaming; it reduces input lag, but disables some movie image processing
- Picture Size: useful only for 4:3 content on widescreen displays; leave disabled for daily use
Step 3: Manually calibrate brightness, contrast, and color temperature
With Movie mode enabled, default values are already reasonable, but fine-tuning makes a perceptible difference. You don’t need professional equipment; there’s a simple method using reference scenes.
- Open an episode of a series or movie you know well in 4K streaming (Netflix, Prime Video, or Apple TV+ have good quality)
- Pause on a scene with dark and bright areas simultaneously
- Brightness: increase until you see detail in shadows without black turning to gray; the ideal point is when black still looks black but you can see texture in dark clothing
- Contrast: reduce slightly from maximum; Movie mode’s default setting is usually good, but if whites look “blown” (without texture), reduce by 5 to 10 points
- Color Temperature: switch from “Standard” to “Warm 2”; this brings the white reference closer to 6500K, the international cinema standard
For more rigorous adjustment, YouTube has calibration videos with color patterns and grayscale bars you can use for free. Search for “TV calibration test patterns.”
Step 4: Check your HDMI cable and input mode
This is the step most people ignore. An old or poor-quality HDMI cable can limit signal bandwidth and prevent the TV from receiving true HDR or 4K at 60 frames per second.
What to check:
- HDMI cables for 4K HDR need to be at least HDMI 2.0 (certified with 18 Gbps bandwidth); for 4K at 120fps (on PS5 or Xbox Series X, for example), the cable needs to be HDMI 2.1 (48 Gbps)
- In the TV menu, go to Settings > General > External Device Manager > HDMI Signal Configuration and verify the port is set to “Enhanced Signal Input” (enables HDR and higher frequencies)
- Samsung uses this name since 2018 QLED models; in older models it may appear as “HDMI UHD Color”
Certified HDMI 2.1 cables cost between R$ 60 and R$ 150 in Brazil depending on length, and are available at national electronics stores like Kabum and Amazon Brasil. No need to import.
Step 5: Update TV firmware and review Ambient Mode
Samsung releases software updates for TVs for several years after launch, and some of these updates bring real improvements to the image processor and color bug fixes. To check:
- Go to Settings > Support > Software Update > Update Now
- The TV needs internet connection (Wi-Fi or network cable)
If your TV no longer receives updates, consider an external media player like Fire TV Stick 4K Max or Chromecast with Google TV. These devices have newer processors and decode formats like Dolby Vision and HDR10+ that older TVs may not support natively. The Fire TV Stick 4K Max is Anatel-approved and officially sold in Brazil, priced typically between R$ 350 and R$ 500 depending on promotions.
If you’re interested in connecting a console to your setup, check out PS5, Xbox or Switch: which console to buy in Brazil in 2026 to understand which ones best utilize your TV’s HDMI capabilities.
Cost to improve image without replacing your TV
| Improvement | Estimated cost in Brazil | Requires import? |
|---|---|---|
| Image settings adjustment | Free | No |
| Certified HDMI 2.1 cable | R$ 60 to R$ 150 | No |
| Fire TV Stick 4K Max | R$ 350 to R$ 500 | No (Anatel approved) |
| Chromecast with Google TV (4K) | R$ 350 to R$ 450 | No (Anatel approved) |
| Professional calibration with colorimeter | R$ 200 to R$ 600 (third-party service) | Not applicable |
Prices vary by store and period; check official retailers for current pricing.
When adjustments aren’t enough
If after all these steps the image still looks faded, with visible backlight spots on edges or poor black uniformity, the problem may be physical. LCD TVs with edge-lit backlighting (LEDs on edges, not behind the panel) age with brightness unevenness that no software configuration resolves.
In that case, before investing in repair, compare repair costs with a new TV. Entry-level OLED panels, which offer true black and infinite contrast, have reached more accessible prices in recent years in Brazil, though they still represent significant investment. If you’re evaluating other upgrades to your home tech setup, the reasoning is similar to upgrading an old PC from HDD to SSD: sometimes the upgrade cost exceeds the benefit and full replacement makes more financial sense.
Common problems and how to solve them
The image became too dark after switching to Movie mode It’s normal at first. Increase brightness (not contrast) by 5 to 10 points and adjust your room lighting. If you watch in a dark room, Movie mode already shines enough; in a bright room, you may need adjustment.
Colors look faded after disabling Motion Smoothing This isn’t directly related to Motion Smoothing. Check if Picture Mode reverted to Standard or Dynamic for some reason. Some Samsung models reset settings after firmware updates.
HDR doesn’t activate even with new cable Make sure the specific HDMI port has “Enhanced Signal Input” enabled in the TV menu, and that the source device actually sends HDR signal. Not all 4K content is HDR.
TV no longer receives firmware updates Samsung officially supports software updates for about four to six years after model launch, but this varies. Check the official Samsung Brasil website by entering your model number to verify support availability.
Frequently asked questions about improving image quality on old Samsung TVs
Is professional calibration worth it for an old TV?
It depends on the value you still place on the equipment. Professional calibration with a colorimeter, done by a specialized technician, can cost between R$ 200 and R$ 600 in Brazil and delivers results far above manual adjustment. For TVs over 55 inches with a panel still in good condition, the cost is justified; for smaller models or with compromised panels, probably not.
Does Game Mode ruin the picture for watching movies?
Yes, Game Mode on Samsung disables processing useful for cinematographic content, plus alters the color response curve. Enable only when gaming and switch back to Movie mode when watching shows or films.
Do external media players really improve image on old TVs?
They improve mainly in two aspects: support for modern HDR formats (like Dolby Vision, which old TVs may not have) and interface fluidity. The physical panel quality doesn’t change, but the signal delivered to it can be better. If your TV only supports basic HDR10, a Fire TV Stick or Chromecast that decodes Dolby Vision still delivers HDR10 on output with no loss.
Can you improve sound along with picture without spending much?
Yes. Samsung has audio equalization settings in the audio menu that many ignore. The “Voice Amplification” mode improves dialogue intelligibility in movies without needing a soundbar. For those wanting to go further, soundbars from Anatel-approved brands like Samsung, LG, and JBL cost from R$ 600 and make a real difference.
What to do now
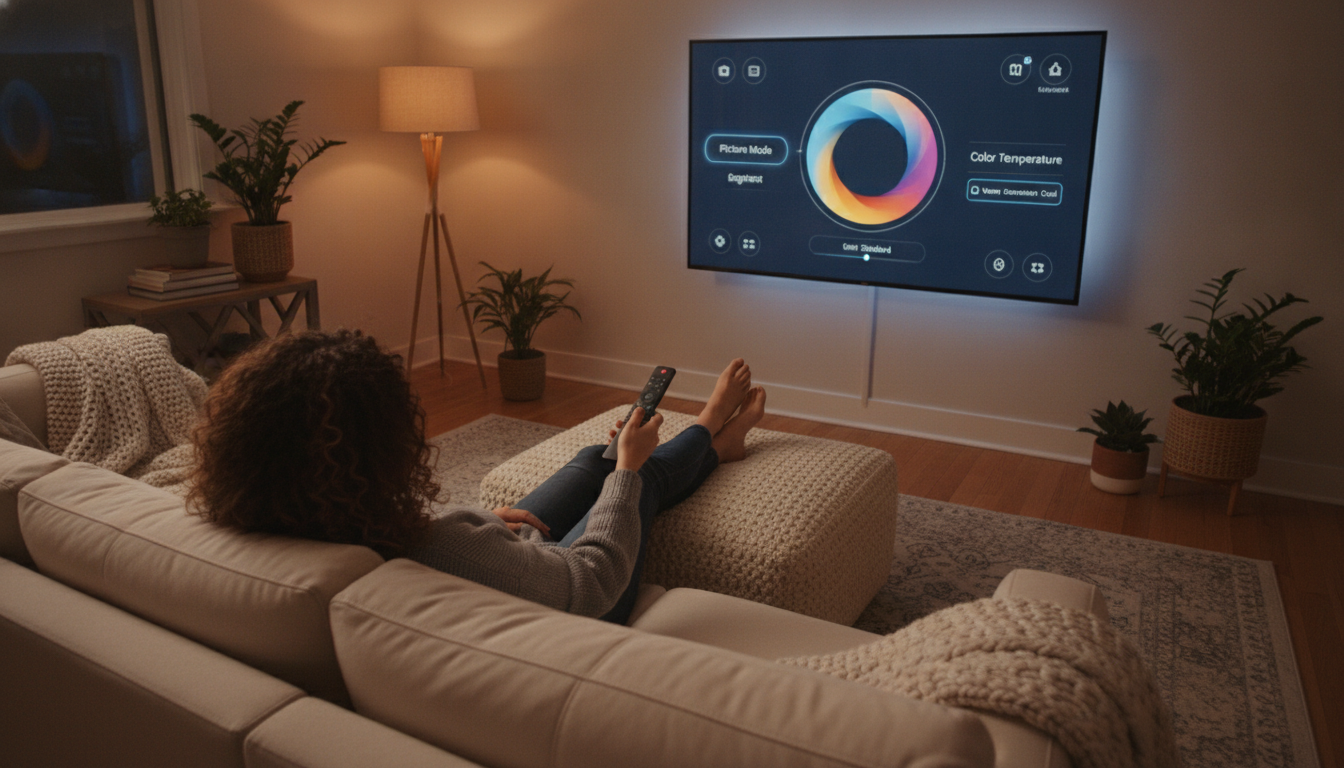
Start with software adjustments, which cost nothing and have immediate impact. Movie mode, disabling Auto Motion Plus, and adjusting color temperature to Warm 2 are already sufficient for most people to notice significant improvement. If the TV is from 2019 or newer, it’s also worth checking firmware and reviewing HDMI settings.
For TVs from 2017 or earlier with physical brightness or uniformity problems, the cost-benefit of keeping the equipment needs honest evaluation. The adjustments described here solve configuration problems, not aged hardware. But if the panel is still healthy, you have everything you need to extract maximum performance without spending anything.